A one-lens photo walk works because it removes one decision, not because it guarantees better photographs. Looking back at a Watkins Glen sequence from June 24, 2021, I found 22 frames made with the same Canon EF-S 18–55mm lens over about 47 documented minutes. The lens stayed constant. The gorge did not. Deep shade, bright openings, wet rock, moving water, stone stairs, and other visitors kept changing what the camera had to solve.
I want to be precise about the evidence. The files prove that every photograph in this archived sequence used the same lens. They do not prove that I planned the outing as a one-lens challenge, or that another lens was not somewhere in the bag. What they provide is more useful than a manufactured challenge story: a real one-lens case study, complete with strong frames, awkward light, and pictures I would handle differently now.
The Field Setup I Can Verify
The camera was a Canon EOS Rebel T7 with the EF-S 18–55mm f/3.5–5.6 IS II. The documented sequence begins at 1:32 p.m. and ends at 2:19 p.m. The EXIF spans the full 18–55mm range, with shutter speeds from 1/30 to 1/500 second and sensitivity from ISO 100 to ISO 3200.
That range matters because Watkins Glen is a demanding place to photograph. The official New York State Parks page for Watkins Glen describes a gorge route with many stone steps, spray, tunnels, waterfalls, and seasonal access. A lens change is not automatically unsafe, but narrow wet trail space is a good reason to keep equipment decisions simple and stay aware of people moving around you.
Canon lists this lens as an 18–55mm stabilized standard zoom. On the T7, it covered wide gorge context, middle-distance trail scenes, and tighter fragments without opening the camera body beside spray and foot traffic. That convenience was real. It did not solve the larger photographic problem: the gorge could move from near-black rock to hard sun in the same composition.
Lesson One: Zooming Was About Framing, Not Avoiding Movement
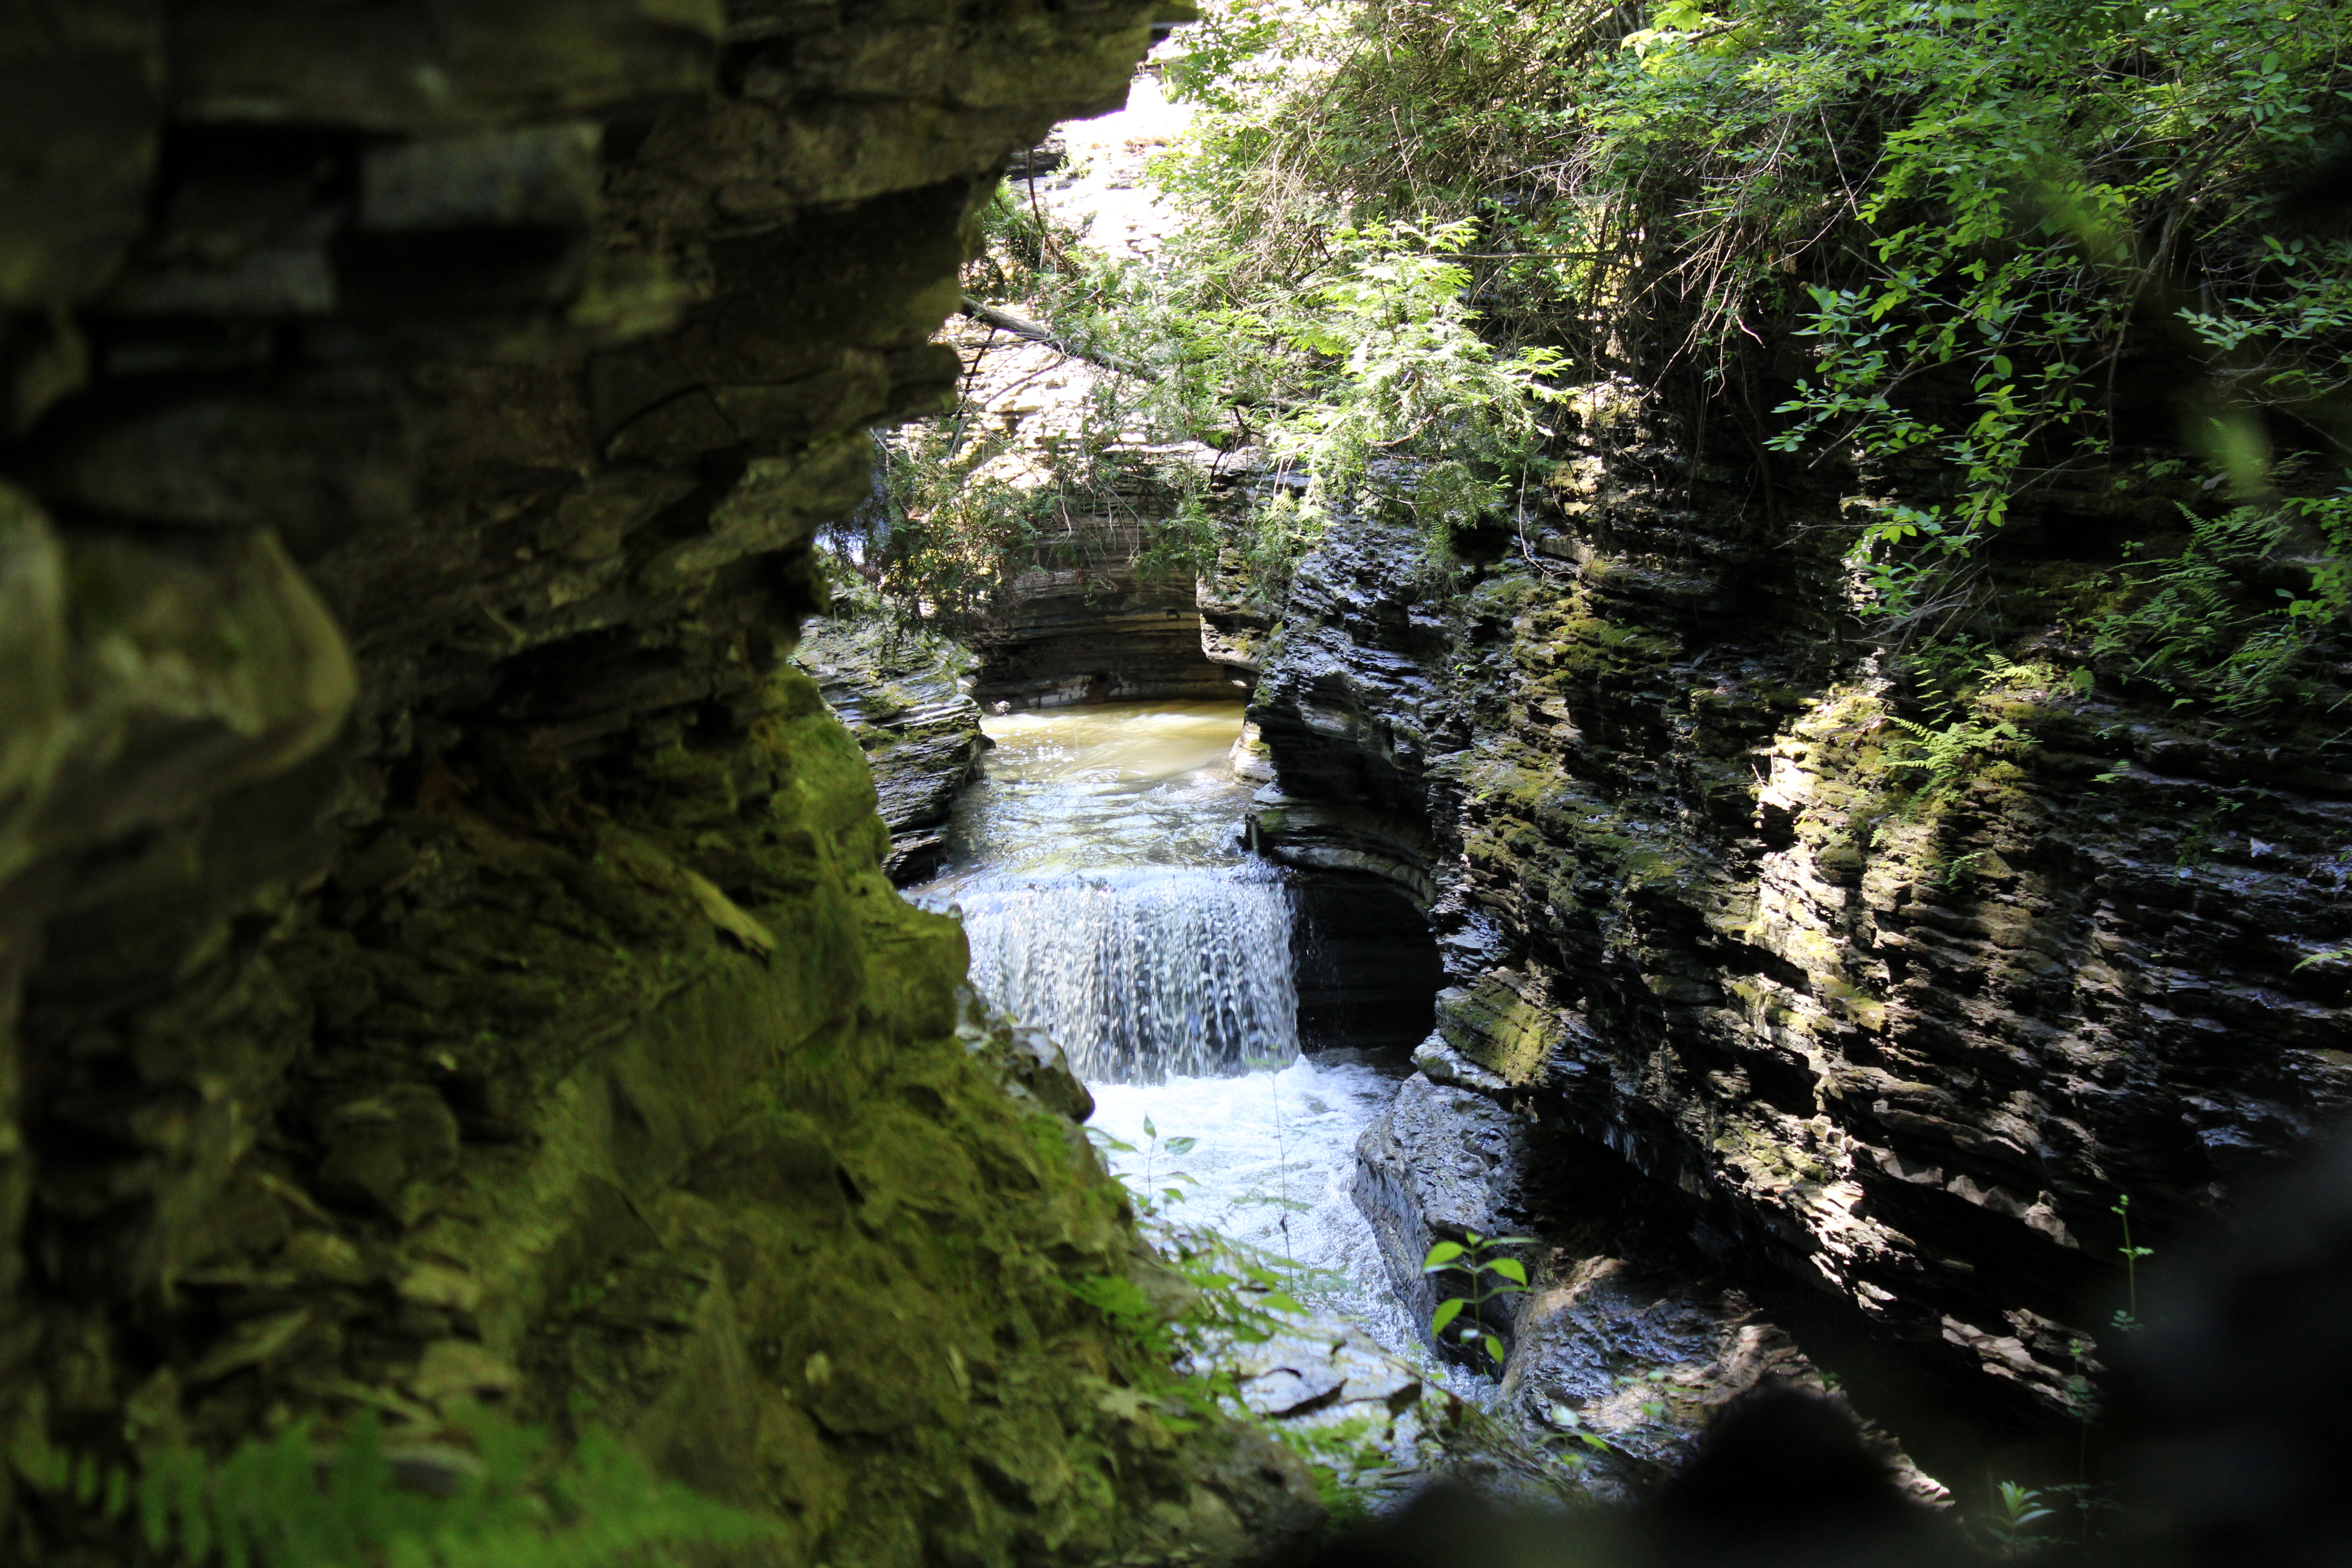
The strongest frame in the set was made at 49mm. I used the darker rock on the left as a natural frame and let the smaller waterfall sit inside the opening. The longer end of the zoom reduced the amount of bright sky and unrelated trail detail competing for attention.
That does not mean I could stand anywhere and zoom until the picture worked. The useful sequence still came from changing position, waiting for a clearer line, and deciding which part of the gorge was actually the subject. A zoom lens gives options; it does not do the looking.
Lesson Two: The Trail Was Part of the Story
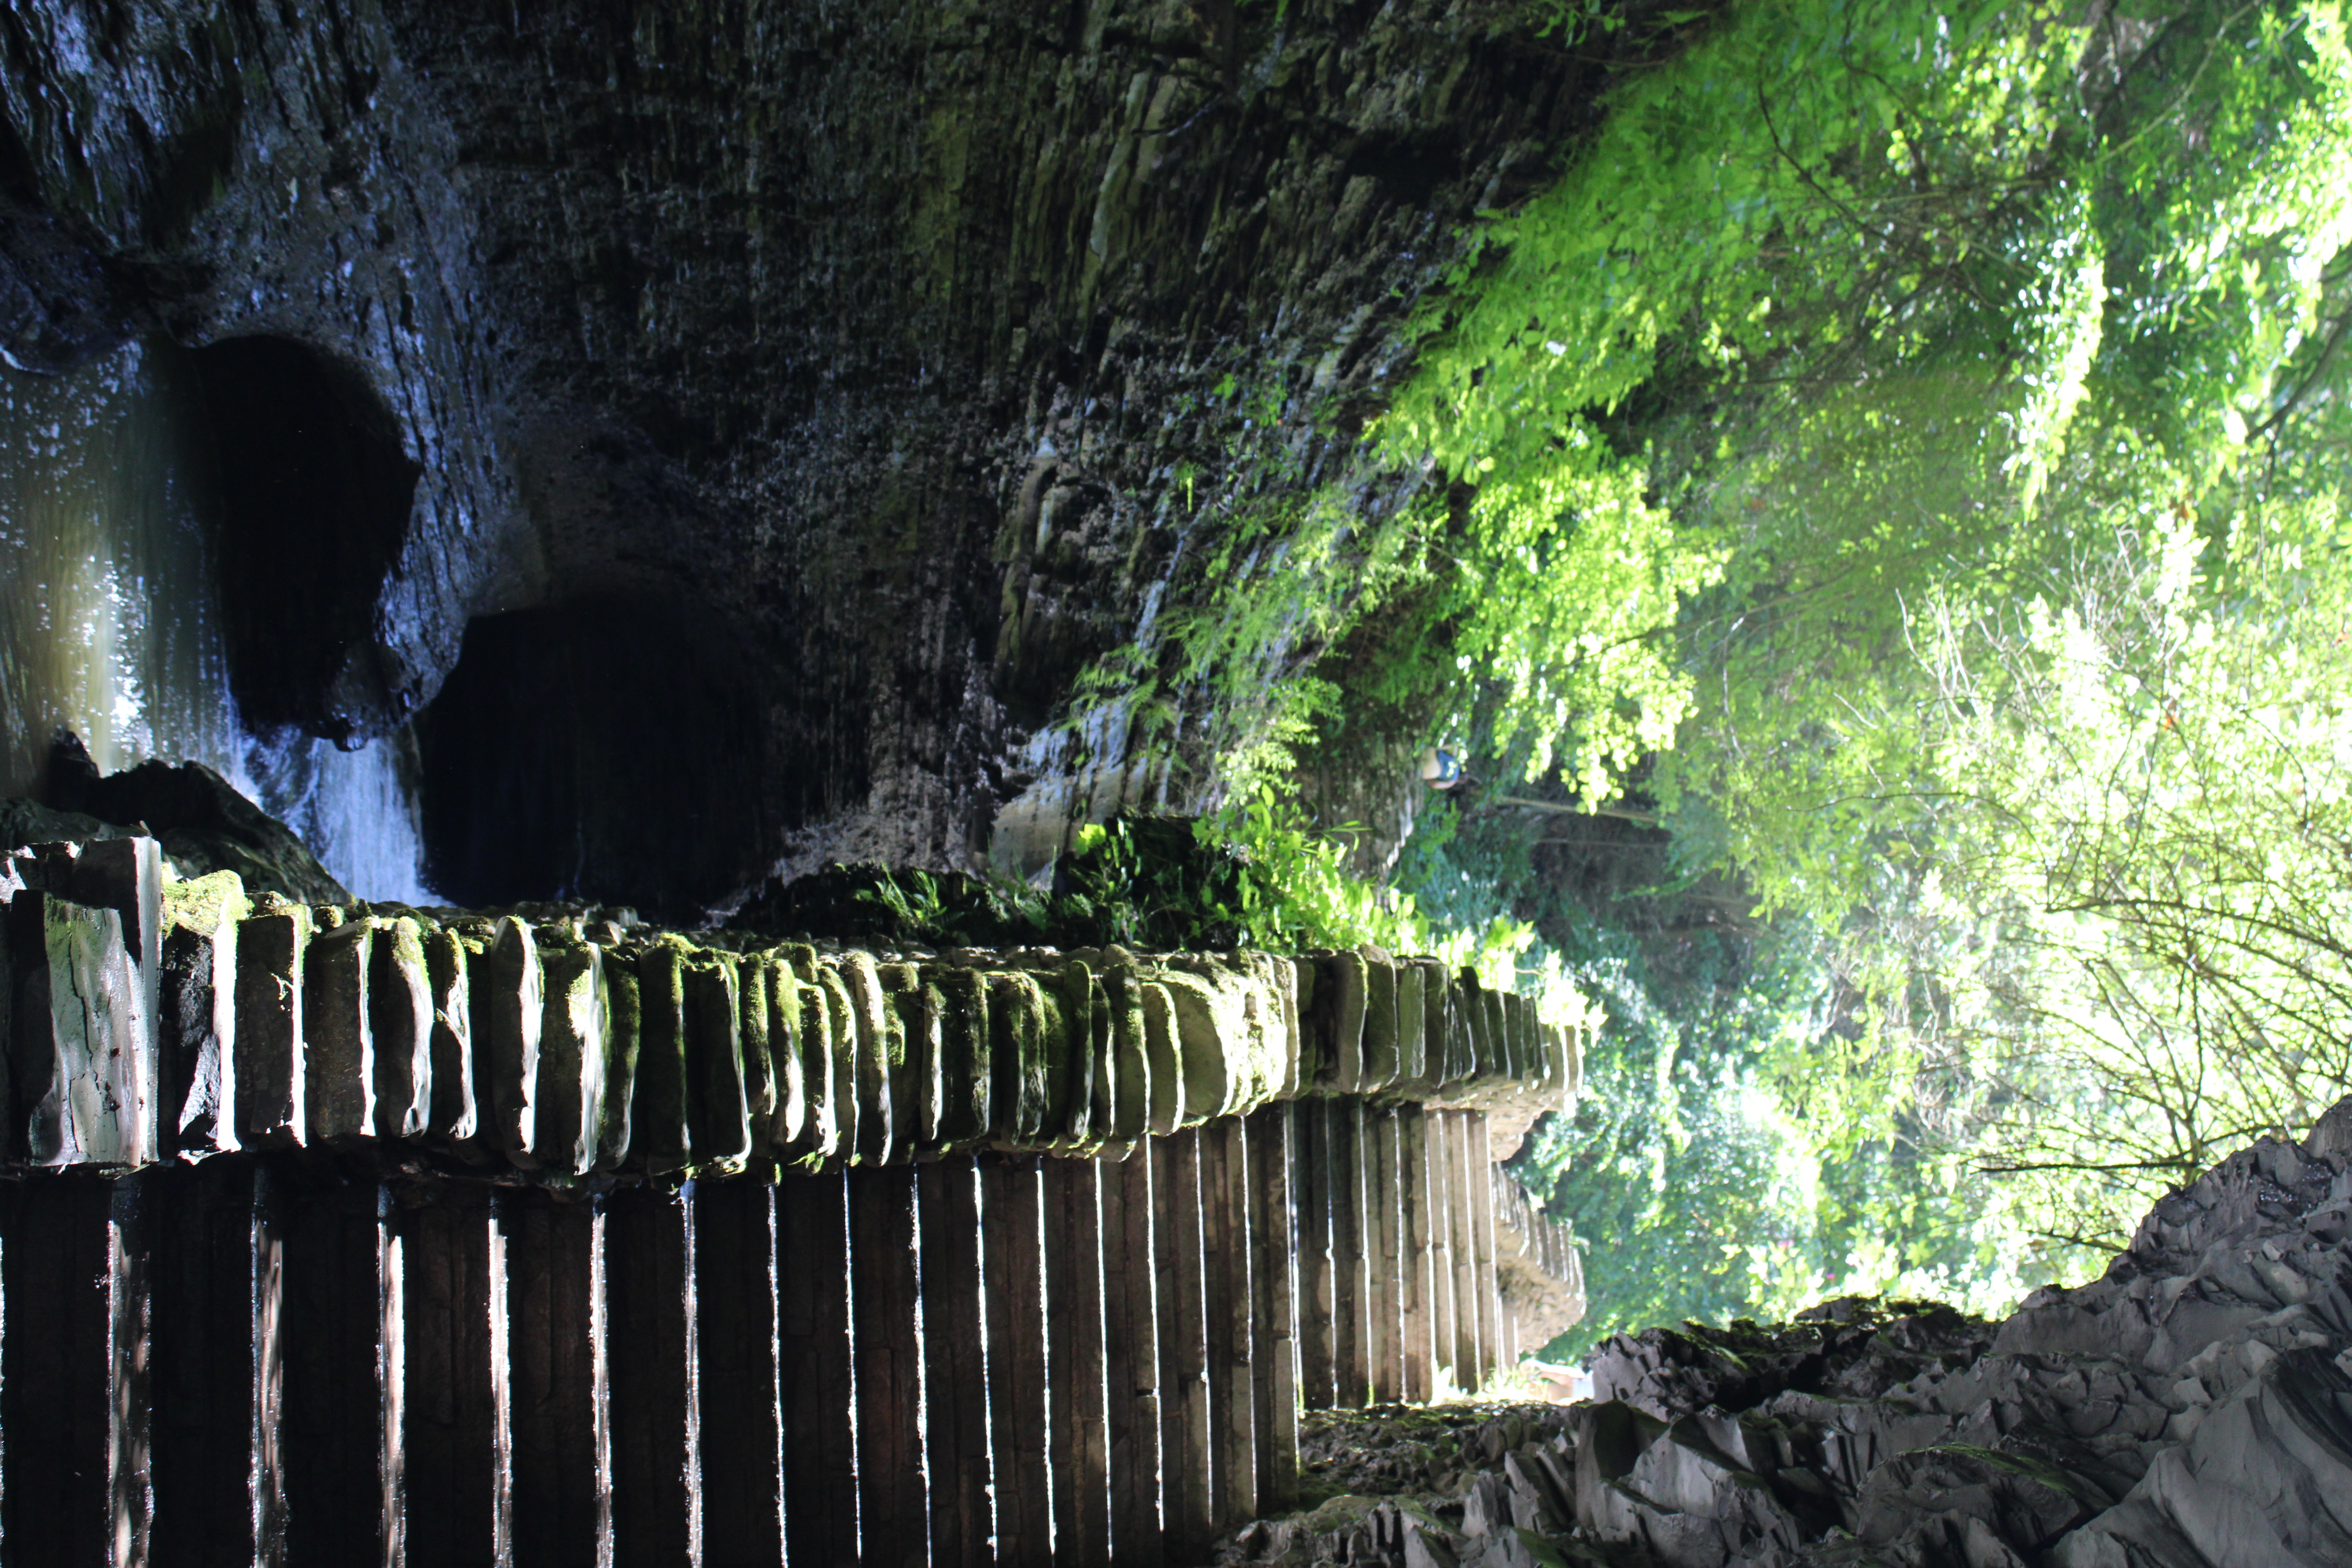
Waterfalls pull attention, but the stonework, narrow passages, damp walls, and climb through the gorge explain what it feels like to be there. The stair photograph is not simply a record of infrastructure. The repeating stone edge leads upward, the dark rock gives the frame weight, and the patch of water keeps the place connected to the gorge.
This is where carrying one familiar lens helped. I could move from a waterfall composition to a trail-detail composition without turning the stop into a gear operation. For a walk built around observation, that is a meaningful advantage. I was more likely to notice the curve of the stairs or the texture of a wall because the next decision was about the scene, not which lens cap was in which pocket.
Lesson Three: A Useful Walk Needs More Than Hero Images
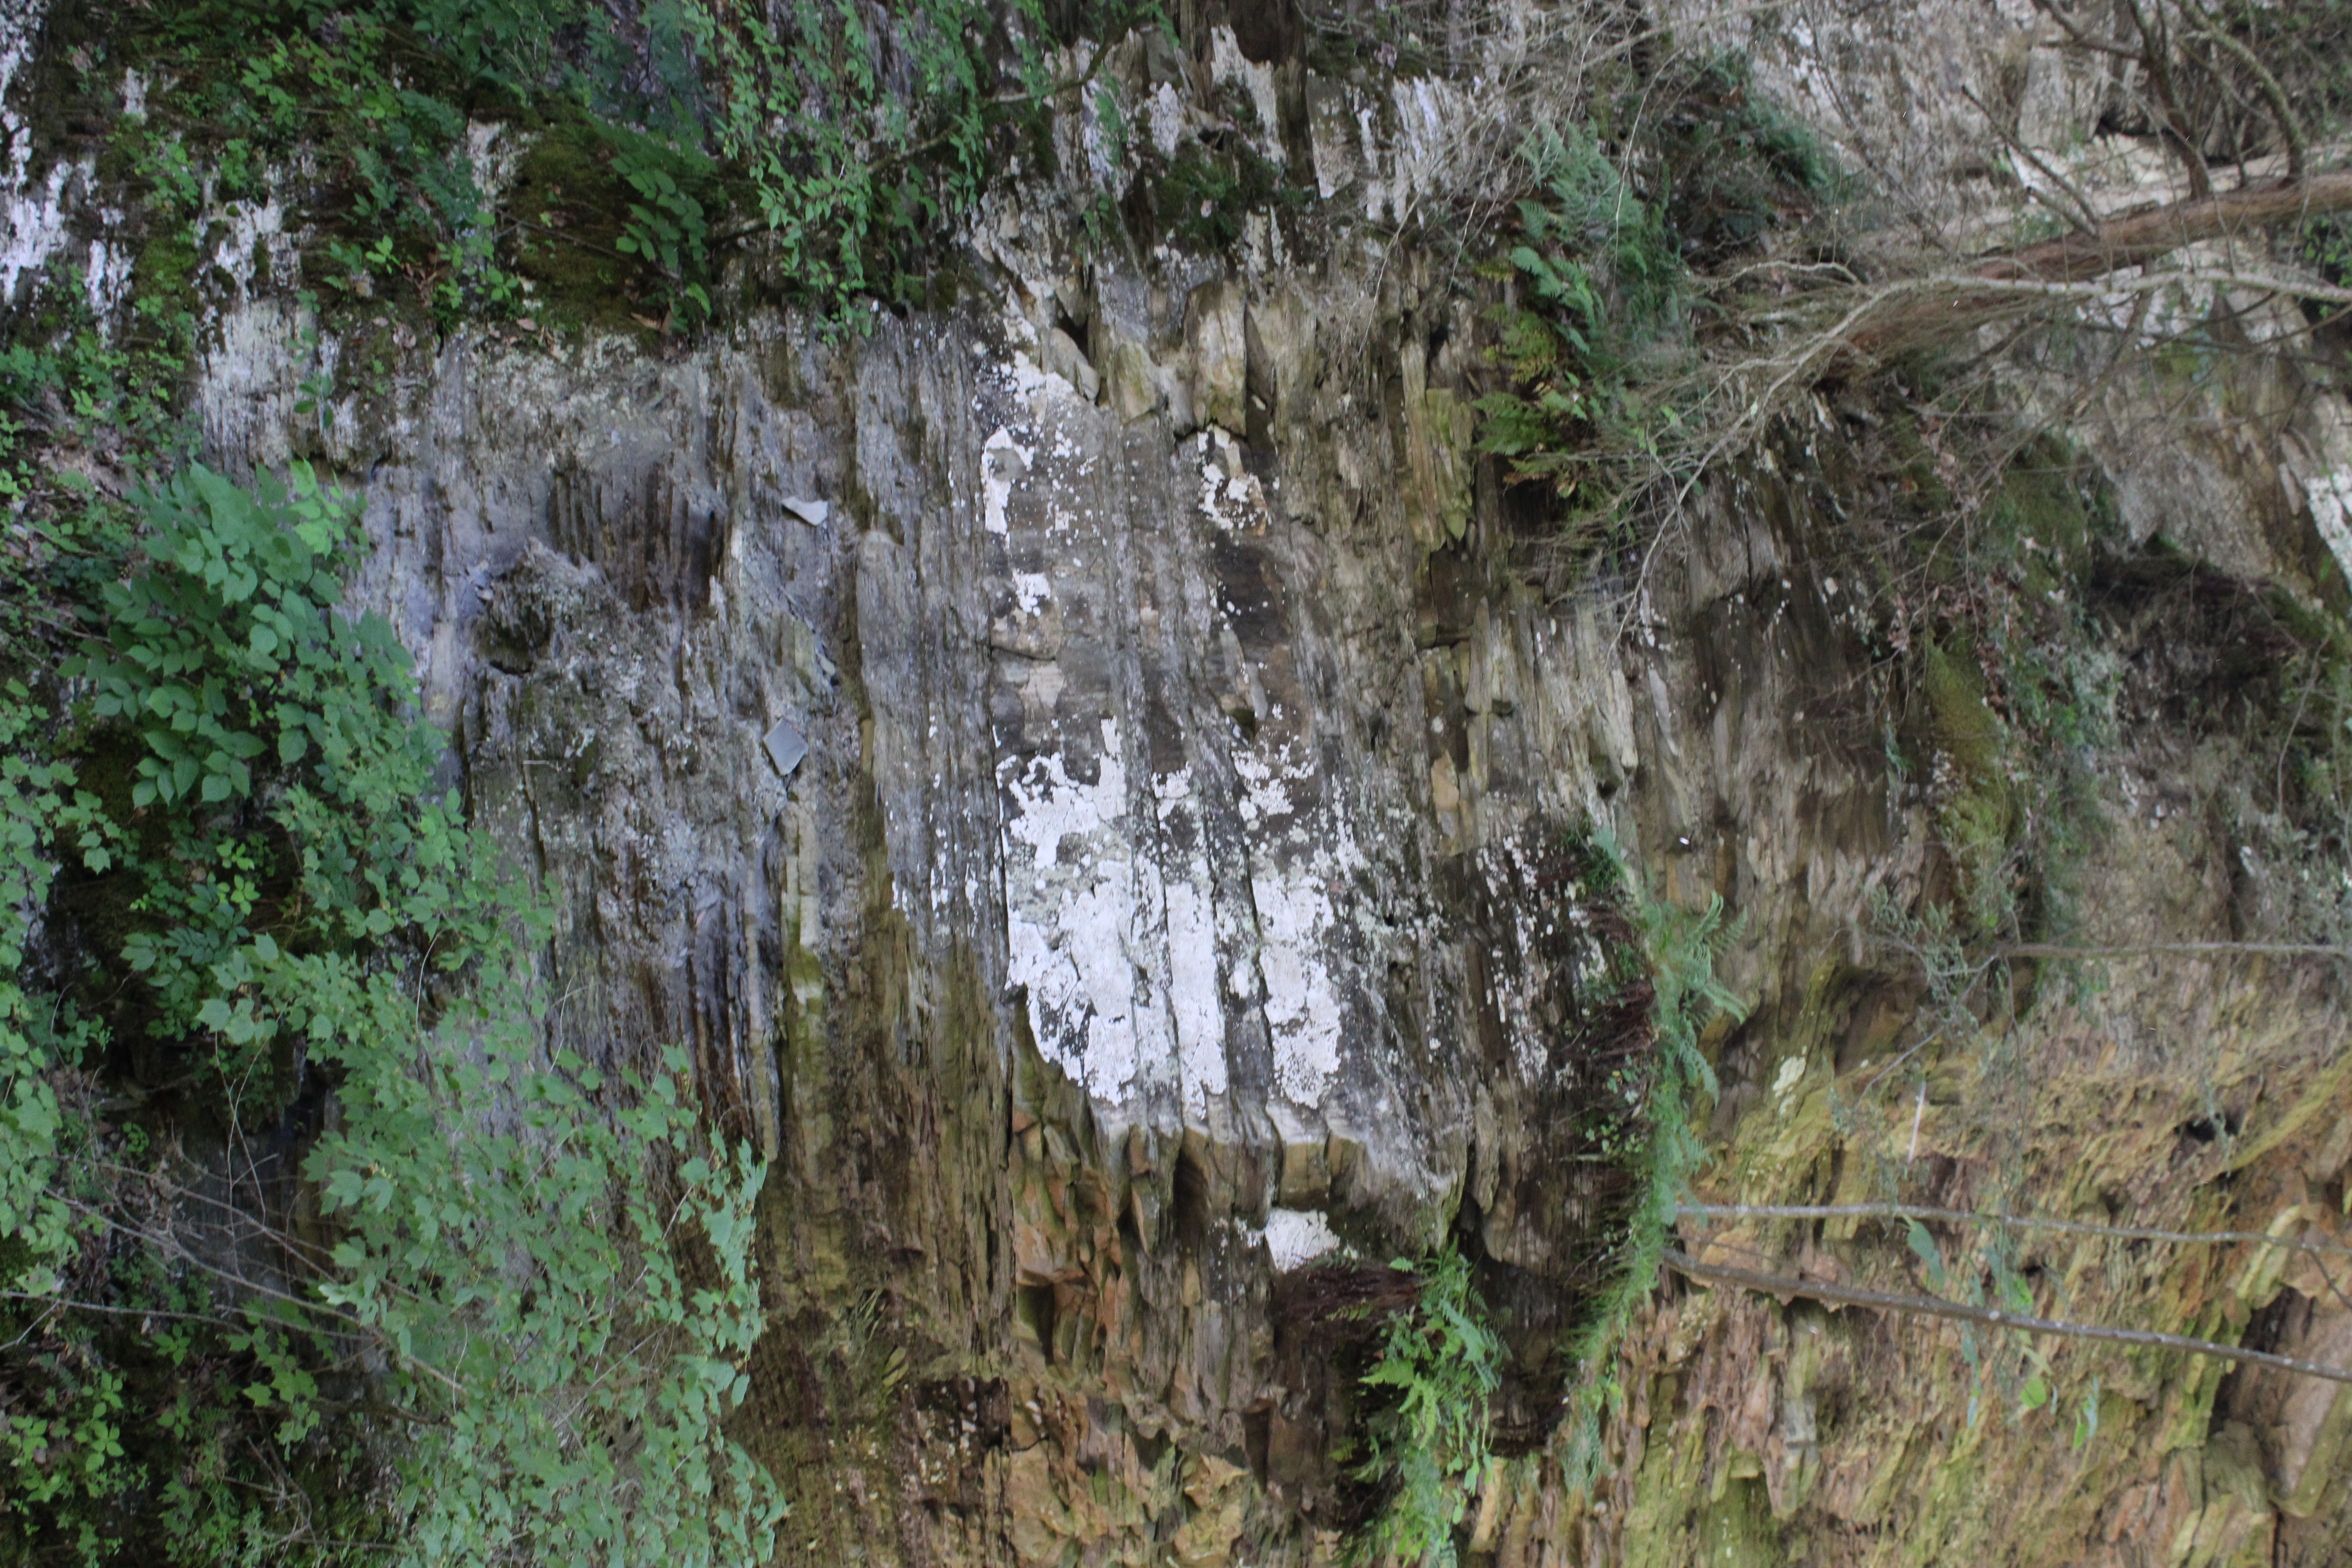
The rock-wall frame is not the photograph most people expect from Watkins Glen, and that is why it belongs in the set. It records the small ferns, mineral streaks, broken edges, and places where plants find a foothold. Those details give the larger waterfall photographs context.
A one-lens walk becomes more interesting when I give myself a short assignment inside the assignment:
- Make one frame that establishes the place.
- Make one tighter frame that removes obvious landmarks.
- Include the trail or human-built structure without making people the subject.
- Photograph one texture I would normally walk past.
- Keep one failed frame and write down why it failed.
That last item is important. A photo walk is practice, not a demand that every shutter press become portfolio material.
The Early Frame That Did Not Work
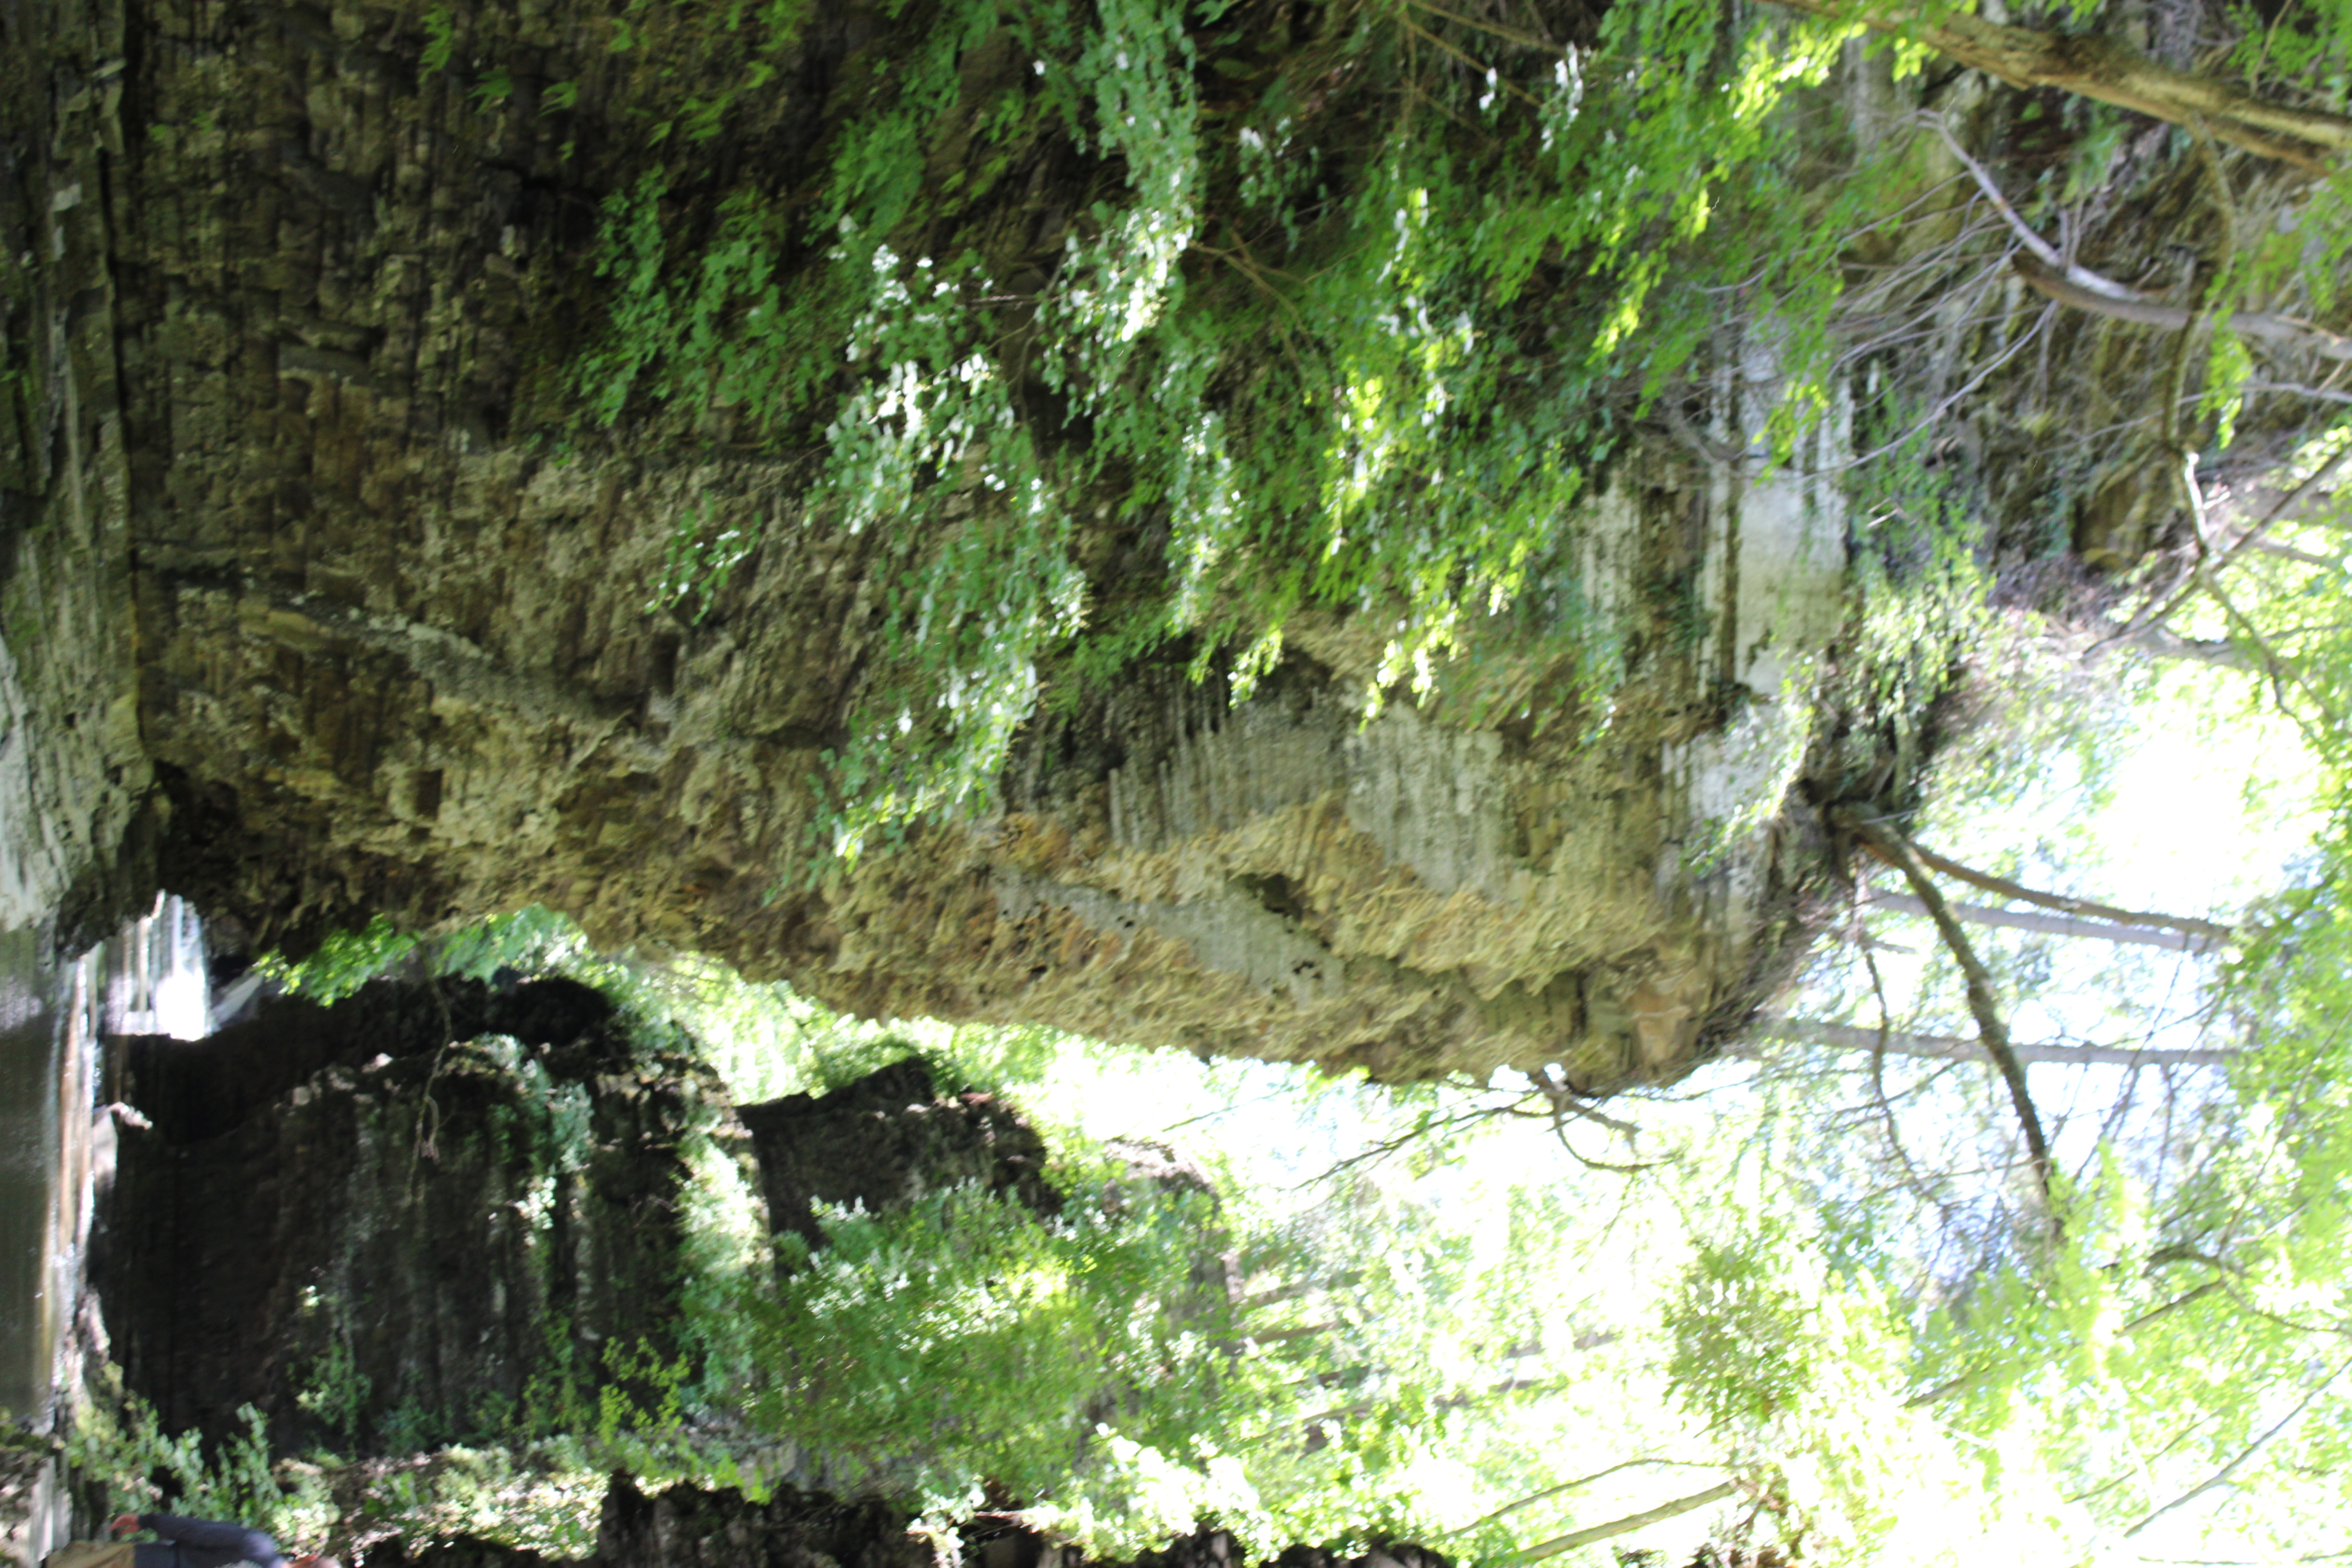
The first selected frame shows what the single lens could not fix. The upper opening is too bright, the rock face and foliage compete for attention, and the person at the edge becomes an accidental distraction. Changing lenses would not have rescued it. A better response would have been to change my angle, exclude more of the opening, wait for different light, or accept that the scene was not ready.
This is the main reason I like reviewing old work. The lesson becomes specific. “Watch the highlights” is generic advice. “At this opening, protect the bright foliage and decide whether the rock wall or the passage is the subject” is something I can act on next time.
Where the One-Lens Approach Reached Its Limit
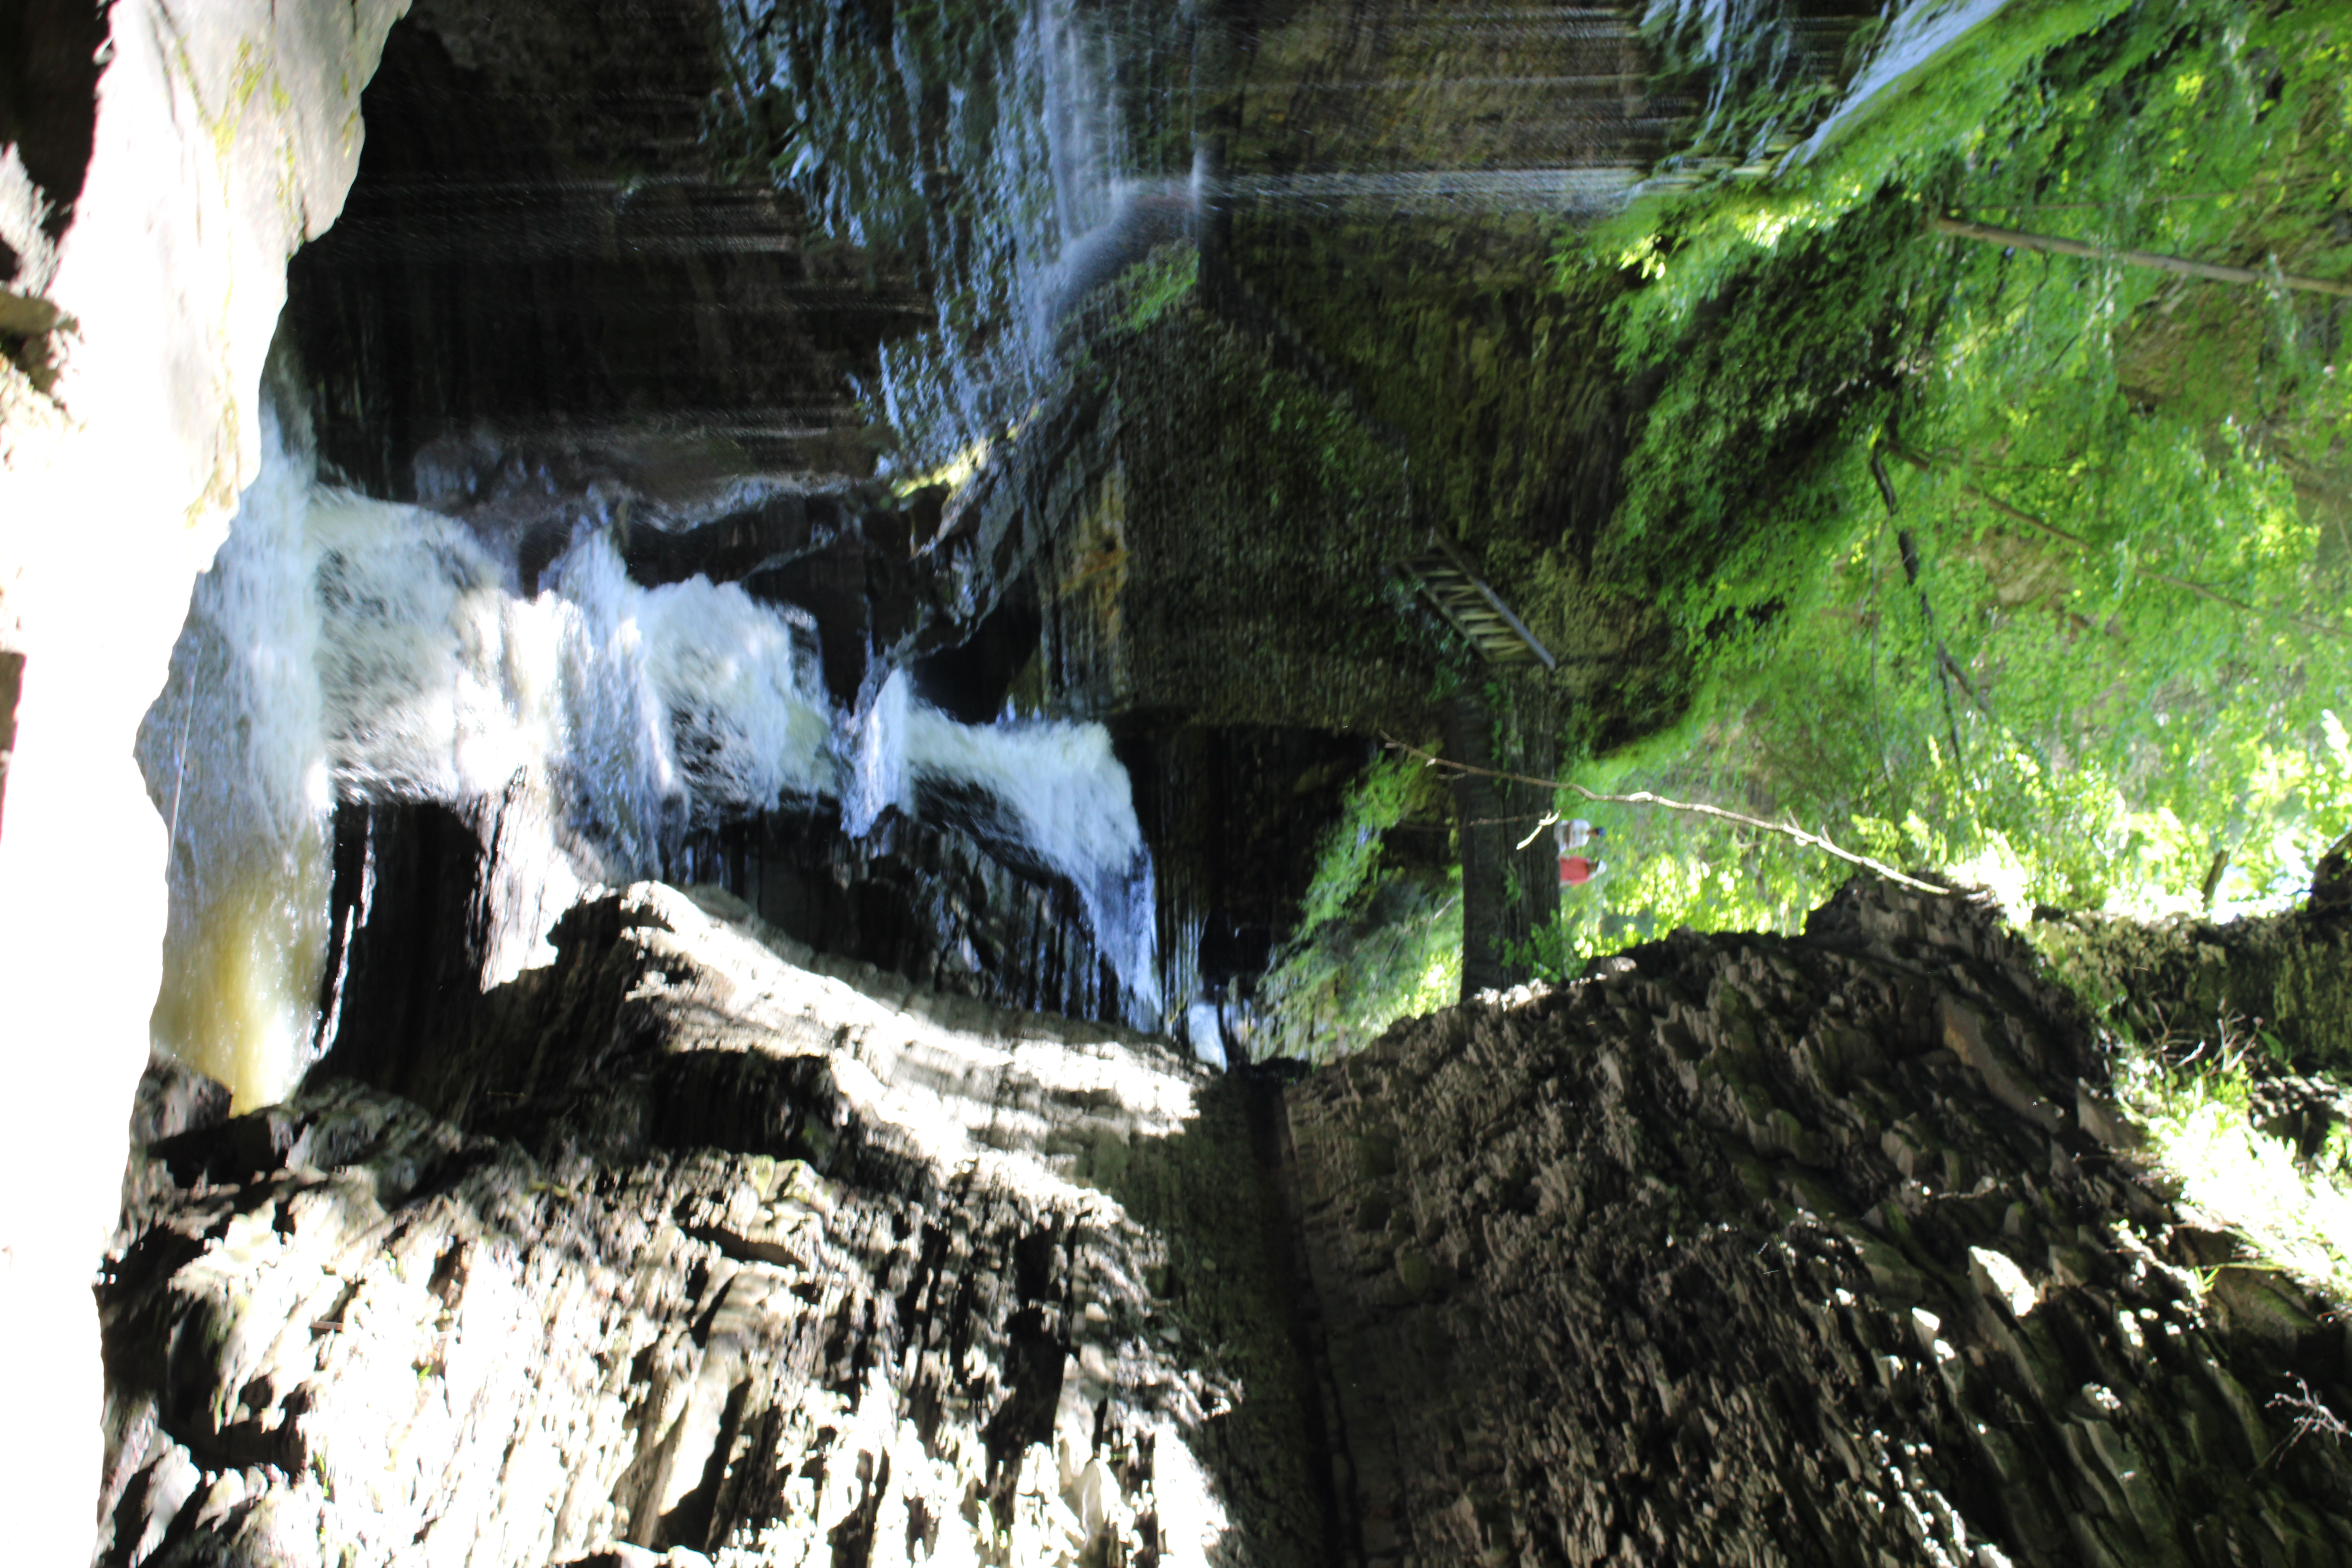
The 18–55mm range covered the compositions I encountered, but it did not provide a very wide view for every tight passage, a long reach for distant details, or a bright aperture for separating subjects in shade. More importantly, the high-contrast light often mattered more than focal length. Some frames climbed to ISO 1600 or 3200. Others sacrificed highlights to hold enough shadow detail.
If the assignment were specifically long-exposure waterfall work, I would make different choices about support, filters, timing, and where I could set up without obstructing the trail. My waterfall shutter-speed field guide looks at those tradeoffs using other frames from this trip and Hawk Falls.
How I Would Repeat This Photo Walk
- Choose the lens before reaching the trail. The point is to remove decisions in the field, not create a debate at every overlook.
- Check the official access page. Gorge access is seasonal and conditions change. I would confirm the current New York State Parks notice before leaving.
- Start with a simple documentary frame. It gives the set a reference before I chase details.
- Work the middle of the zoom first. Around 24–35mm felt natural in much of this sequence. I would go wider or tighter only when the subject called for it.
- Watch the bright openings. The gorge can make the camera meter for shadow while sunlit leaves and water lose detail.
- Step aside before stopping. Stone stairs, tunnels, spray, and other visitors deserve more attention than a settings menu.
- Review the misses. The frames that fail usually reveal whether the problem was light, timing, position, or an unclear subject.
My Verdict
One lens was enough to tell a useful Watkins Glen story. The 18–55mm covered the waterfall, the route, the rock, and the small details that connected them. Its biggest benefit was practical: fewer equipment decisions while moving through a wet, busy gorge.
But “one lens” should stay a creative boundary, not become a purity test. If the constraint makes me ignore safety, block the trail, force a weak picture, or pretend the tool has no limitations, it has stopped being useful. The better goal is to return with a small set that shows what I noticed and what I learned.
Sources & Field Notes
- Field sequence: Watkins Glen, June 24, 2021; 22 archived frames from 1:32–2:19 p.m.; Canon EOS Rebel T7 and EF-S 18–55mm f/3.5–5.6 IS II.
- New York State Parks: Watkins Glen State Park.
- Canon: EF-S 18–55mm f/3.5–5.6 IS II specifications.
- Leave No Trace principles.
For more field-based work, read my Ricketts Glen photography story or explore my photography portfolio and services.